The Plant a Seed & See What Grows Foundation is deeply rooted in seed preservation programs. In essence, a seed preservation program, as it relates to our vision, involves conserving and sustaining seeds from “true to type” organic agricultural yield. “True to type” refers to non-genetically modified (non-GMO) (heirloom) vegetables, grains, tree fruits, berries, herbs, and so forth. On a grand scale such a process is essential to ensuring food security and fosters the promotion of self-sustaining communities. An efficient seed preservation program reproduced from region to region can effectively create a healthier and nutrient abundant global village.
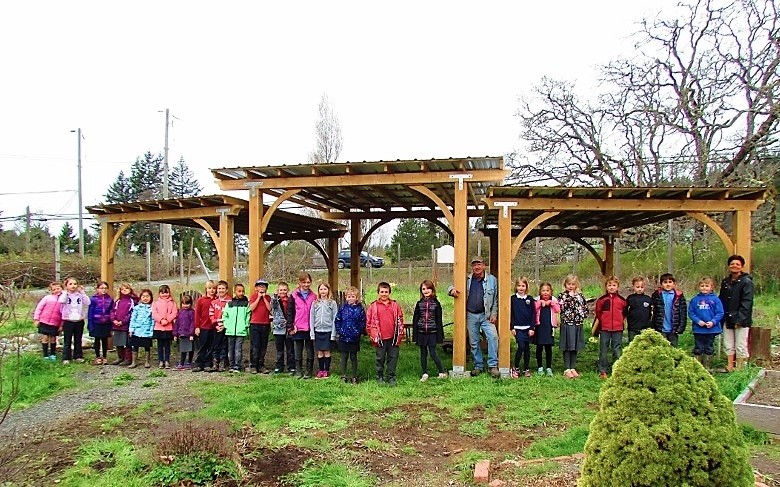
Our Foundation recognizes that such altruistic ambitions must start small. Chances are, if you happened upon this article then you were looking for information on seed preservation methods for use in your home or community garden. We think that’s great, and we’re here to lend a hand (and green thumb!). You see, it starts with the organic gardens in backyards and neighborhood soil patches. It begins with parents and teachers passing information onto youth that will reverberate for generations. In recognizing this we thought we would provide you with some helpful tips on seed preservation as it relates to you, and your small yet ambitious agricultural undertaking.
6 Tips to Preserving and Storing Organic Seeds from Your Home or Community Garden
1. Clean Your Seeds Promptly After Removing them from Your Plants
It is essential that as soon as you take seeds from your plants that the first thing you do is thoroughly clean them. That means removing all soil, dirt, and dust residue. This can be done with a recyclable facial tissue or soft hand towel. Depending upon the species, you may also need to remove additional matter such as natural coatings, shells, husks, and cobs. A simple fingernail or tweezerwill perform the latter just fine.
2. Dry Your Seeds Before Storing
Once clean, your seeds will need to be dried. Separate seeds by type accordingly, and spread them out evenly on a dry paper towel or clean dye-free parchment. Resist the urge to use newspaper – the ink can seep through onto the moist seeds. If the sun is shining feel free to let them dry quickly in their naturally lit environment.
3. Freezing Seeds for Long Term Storage
Inspect your seeds to ensure that they have completely dried. When that is confirmed you are ready to place them into a container for safe storage. If storing seeds for the long term (approximately up to 3 years) you will need to freeze them. When freezing, place the same-kind seeds into a ziplock bag and seal them tightly. Because you need to reduce the rate of aerobic respiration you must exclude all oxygen from the the container. If you’re forward thinking about seed preservation on a larger scale you may consider investing in a vacuum sealer to completely extract all oxygen from the atmosphere surrounding your seeds. Label each bag by type of seed and the date that is was packed away. Once sealed and labeled place them at the back of the freezer away from opening doors so that the temperature remains constant.
4. Open Area Storing of Seeds for Shorter Term
Organic gardens in regions with more static climates may require the storing of seeds for the short term alone. Whatever the reason, if you are looking at shorter term seed preservation you may be considering open area storage. You will still need to sustain the seeds in an airtight container to keep the oxygen at bay. Temperatures should remain cool and constant as well. At the same time, you will need to prevent moisture from entering the container. This can be accomplished with an old household trick involving powdered milk. Place two heaping tablespoons of powdered milk onto layers of tissue (three or four will be fine, depending upon the ply count), wrap the tissue firmly around the powder (you don’t want any of the powder to touch the seeds), and place it within each jar/container where your seeds are being preserved. Once again, label each container by type and date.
5. Monitor the Seed Storage Environment Once Per Month
While you may have packed away your organic seeds for storage with an expert hand it is a good idea to return and check the environment once a month. Make sure that ziplock bags have not torn during movement within shared freezer space and that sealed containers have not cracked. Check to see that temperatures remain constant and that no obstructions have been added to the storage area that can alter light (and thus temperature).
6. Careful Transition from Storage to Planting
When the time comes for you to remove your seeds from storage be sure to keep them sealed until the container/ziplock has returned to room temperature. Remember, seeds should not leave storage until you are truly ready to return them to the soil, so plan your planting schedule accordingly.
The above seed preservation tips will serve your personal or community organic gardening needs. However when it comes to seed preservation on a larger scale much more care is involved, delving into agricultural sciences and tailoring preservation methods by plant species. Our foundation will discuss these practices in future articles. For now, we wish you all the best in your small but very meaningful seed preservation practices. Together, community by community, our gardens will connect until we all indeed grow into that aforementioned global village of self-sustenance.


